Trying Pinniped
· 12 min read
An open-source project called Pinniped makes it easy to set up OIDC access to Kubernetes.
Introduction
An open-source project called Pinniped was released last November. An external blog describes the project like this:
Once you have Pinniped installed on your clusters, the first time that you run a kubectl command it will prompt you to click on a URL. That URL in your browser will redirect you to interactively log in to your upstream IDP and complete authentication.
In other words, the first time you run kubectl, a URL is shown and you log in through it. Once that login completes, you can just keep working.
Configuring Kubernetes user authentication has been confusing for a long time, but this approach might make it quite easy — so I tried it right away.

Prerequisites
I followed this manual:
https://pinniped.dev/docs/concierge-and-supervisor-demo/
Some parts were a bit unclear, though, so I customized things myself. This walkthrough assumes:
- Supervisor Cluster: 1 Kubernetes cluster that can create Loadbalancer resources and reach the internet
- Workload Cluster: 1 Kubernetes cluster — anything that can reach the Supervisor Cluster over the network
- An account that lets you manage a DNS service (I pay for Google Domains)
Steps
Think up a DNS entry
Anything works.
For convenience we'll use the following. Give DOMAIN a DNS name matching the DNS service you own.
pinniped.DOMAIN
Set up an Okta Dev Account
To test OIDC, configure the following. First access this URL: https://developer.okta.com/signup/
Then configure as follows:
Applications (top menu) > Add Application > Create New App > Web
After selecting Next, set:
- App name: pinniped
- Base URL: pinniped.DOMAIN
- Login redirect URIs: pinniped.DOMAIN/callback
- Logout redirect URIs: pinniped.DOMAIN
- Grant type allowed: Authorization Code
Keep the clientID and clientSecret that appear — they are used later.
Install the Pinniped Supervisor
Run the following steps on the Supervisor Cluster
First, install the Pinniped Supervisor:
kubectl apply -f https://get.pinniped.dev/latest/install-pinniped-supervisor.yaml
Next, expose the Loadbalancer port:
kubectl expose deployment --type LoadBalancer pinniped-supervisor -n pinniped-supervisor --port=443 --target-port=8443
Check the load balancer IP address assigned at this point:
kubectl get svc -n pinniped-supervisor
Configure DNS and get a Let's Encrypt certificate
Register the IP address you found as an A record for pinniped.DOMAIN in your DNS service.
This differs per DNS service, so I'll skip the details.
Next, obtain a certificate from Let's Encrypt. In my environment the cluster isn't reachable from the internet, so I used the DNS challenge method. There are many ways to do this; this is just one example. Install the certbot CLI if you don't have it.
certbot --server https://acme-v02.api.letsencrypt.org/directory -d pinniped.DOMAIN --manual \
    --preferred-challenges dns-01 certonly \
    --work-dir /tmp/certbot/wd --config-dir /tmp/certbot/cfg \
    --logs-dir /tmp/certbot/logs
As you answer the various prompts, you'll be instructed to create a TXT record like this:
- - - - - - - - - - - - - - - - - - - - - - - - - - - - - - - - - - - - - - - -
Please deploy a DNS TXT record under the name
_acme-challenge.pinniped.DOMAIN with the following value:

XXxxxxxxxxxxxxxxxxx

Before continuing, verify the record is deployed.
- - - - - - - - - - - - - - - - - - - - - - - - - - - - - - - - - - - - - - - -
Register the TXT record with your DNS service as instructed, press Enter, and the certificate is issued.
Configure the Pinniped Supervisor
Run the following steps on the Supervisor Cluster
First, register the certificate created above as a Secret:
kubectl create secret tls my-federation-domain-tls -n pinniped-supervisor --cert=/tmp/certbot/cfg/live/pinniped.DOMAIN/fullchain.pem --key=/tmp/certbot/cfg/live/pinniped.DOMAIN/privkey.pem
Then register it in a FederationDomain:
cat <<EOF | kubectl create --namespace pinniped-supervisor -f -
apiVersion: config.supervisor.pinniped.dev/v1alpha1
kind: FederationDomain
metadata:
  name: my-federation-domain
spec:
  issuer: https://pinniped.DOMAIN
  tls:
    secretName: my-federation-domain-tls
EOF
Next, register the clientID and clientSecret from the Okta app creation:
kubectl create secret generic my-oidc-identity-provider-client \
  --namespace pinniped-supervisor \
  --type secrets.pinniped.dev/oidc-client \
  --from-literal=clientID=xxxxx \
  --from-literal=clientSecret=yyyyyy
Finally, register the OIDCIdentityProvider. The issuer value here is the domain id generated by Okta.
cat <<EOF | kubectl create --namespace pinniped-supervisor -f -
apiVersion: idp.supervisor.pinniped.dev/v1alpha1
kind: OIDCIdentityProvider
metadata:
  name: my-oidc-identity-provider
spec:
  issuer: https://dev-xxxxxx.okta.com/oauth2/default
  claims:
    username: email
  authorizationConfig:
    additionalScopes: ['email']
  client:
    secretName: my-oidc-identity-provider-client
EOF
Configure the Pinniped Concierge
Run the following steps on the Workload Cluster
Install with:
kubectl apply -f https://get.pinniped.dev/latest/install-pinniped-concierge.yaml
Next, generate a random value for the Audience:
audience="$(openssl rand -hex 8)"
Then configure the JWTAuthenticator:
cat <<EOF | kubectl create --namespace pinniped-concierge -f -
apiVersion: authentication.concierge.pinniped.dev/v1alpha1
kind: JWTAuthenticator
metadata:
  name: my-jwt-authenticator
spec:
  issuer: https://pinniped.DOMAIN
  audience: $audience
EOF
Generate the Pinniped CLI and Kubeconfig
Run the following steps on the Workload Cluster
Download and install the Pinniped CLI. Then generate a kubeconfig via the Pinniped CLI:
pinniped get kubeconfig --concierge-namespace pinniped-concierge --concierge-authenticator-type jwt --concierge-authenticator-name my-jwt-authenticator > /tmp/pinniped-kubeconfig
That's it for the setup.
Testing
First, grant a role to the executing user. <okta user> is the username registered in Okta.
kubectl create clusterrolebinding okta-can-read --clusterrole view --user <okta user>
Run with:
kubectl --kubeconfig /tmp/pinniped-kubeconfig get pods -n pinniped-concierge
If you get redirected to this Okta URL, it's working:
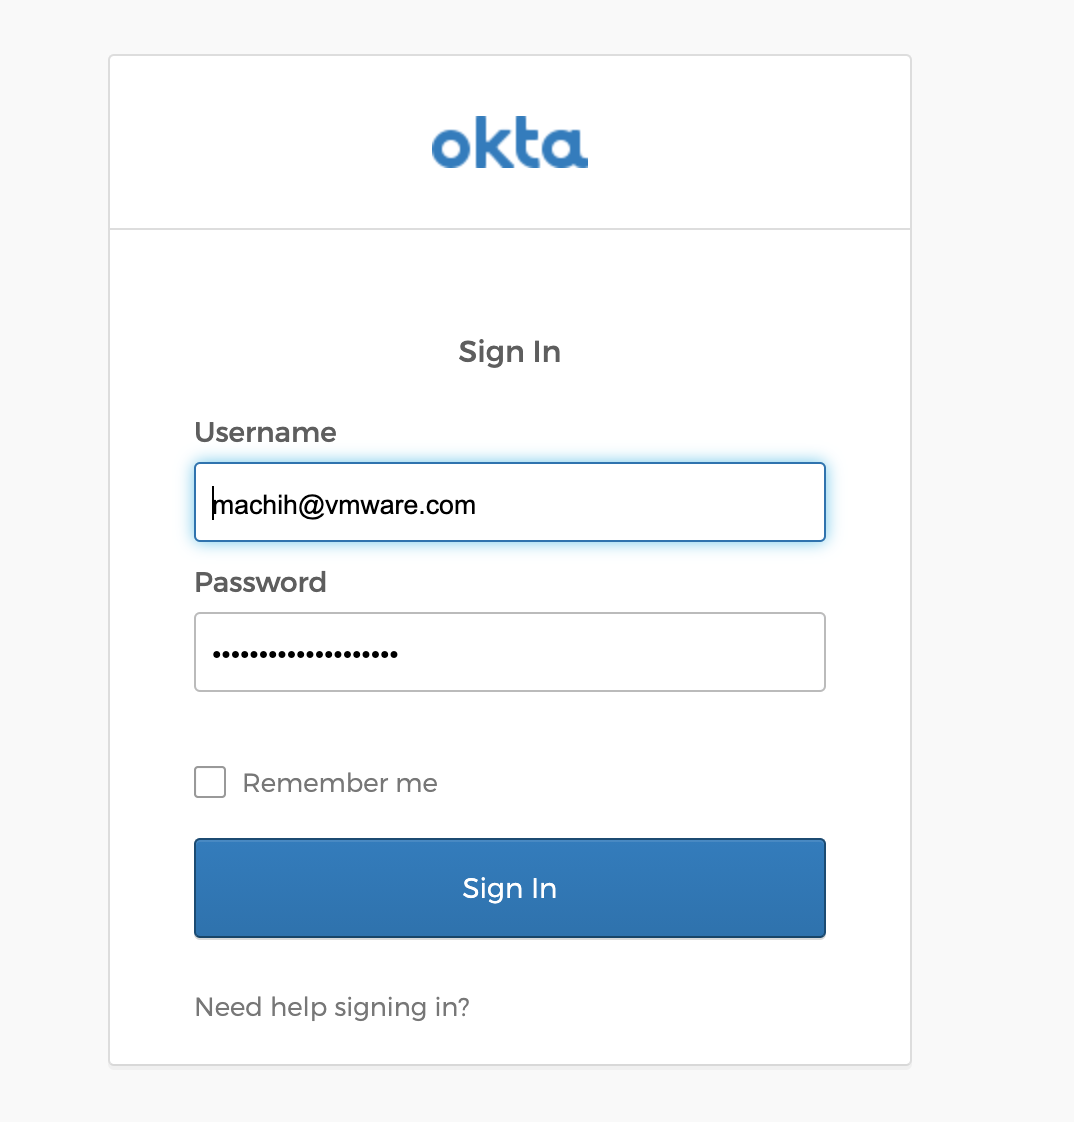
And after authenticating, if you get a pod list like below, you've succeeded:
kubectl --kubeconfig /tmp/pinniped-kubeconfig get pods -n pinniped-concierge
NAME                                          READY   STATUS    RESTARTS   AGE
pinniped-concierge-869566cb49-6zqrw           1/1     Running   0          23h
pinniped-concierge-869566cb49-82776           1/1     Running   0          23h
pinniped-concierge-kube-cert-agent-e9561a48   1/1     Running   0          23h
Summary
This post introduced a quick way to install Pinniped.