Pinnipedを試す
· 9 分で読めます
PinnipedとよばれるオープンソースでKubernetesのOIDCアクセスを簡単に設定できます。
はじめに
Pinnipedというオープンソースが 昨年の11月にリリースされました。このプロジェクトについての説明ですが、外部のブログで以下のように表現されています。
Once you have Pinniped installed on your clusters, the first time that you run a kubectl command it will prompt you to click on a URL. That URL in your browser will redirect you to interactively log in to your upstream IDP and complete authentication.
英語ですが、つまりkubectlを入力した最初の段階でURLが表示され、それでログインをする。そして、そのログインが完了すれば、そのままつかえるというものです。
長らくKubernetesのユーザー認証の設定方法がわかりにくい状況が続いていましたが、この方法であればかなり簡単に設定できるのでは?というわけで早速ためしました。

前提
以下のマニュアルにしたがっています。
https://pinniped.dev/docs/concierge-and-supervisor-demo/
ただ、少しわかりにくい部分もあったので独自にカスタマイズをしています。 この手順では以下の前提です。
- Supervisor Cluster: Loadbalancerリソースが作れ、かつ外部へ通信ができるKubernetes ✖️ 1
- Worload Cluster : Supervisor Clusterにネットワーク的に通信できればなんでもよいKubernetes ✖️ 1
- DNSサービスをいじれるアカウントをもっている(筆者はお金払ってGoogle Domainsを使っています)
手順
DNSエントリーをおもいつく
なんでもいいです。
ここでは便宜上いかにします。DOMAINは所有のDNSサービスに沿ったDNS名を与えてください。
pinniped.DOMAIN
OktaのDev Accountを構成
OIDCをテストするために、以下を構成します。 まず以下のURLにアクセスします。 https://developer.okta.com/signup/
そして、以下のように設定していきます。
Applications (top menu) > Add Application > Create New App > Web
そしてNext選択後以下を設定していきます。
- App name: pinniped
- Base URL: pinniped.DOMAIN
- Login redirect URIs: pinniped.DOMAIN/callback
- Logout redirect URIs: pinniped.DOMAIN
- Grant type allowed: Authorization Code
この際に出現する、clientIDとclientSecretはあとで使うのでとっておきます。
Pinniped Supervisor のインストール
以下の手順はSupervisor Clusterで実施
まず、Pinniped Supervisorをインストールします。
kubectl apply -f https://get.pinniped.dev/latest/install-pinniped-supervisor.yaml
その次にLoadbalancerポートを公開していきます。
kubectl expose deployment --type LoadBalancer pinniped-supervisor -n pinniped-supervisor --port=443 --target-port=8443
このタイミングで付与されたロードバランサーIPアドレスを確認します。
kubectl get svc -n pinniped-supervisor
DNSの構成とLet's encryptの証明書取得
見えてきたIPアドレスをDNSサービスにpinniped.DOMAINをAレコードとして登録します。
ここはお持ちのDNSサービスでやり方が変わってくるので割愛。
次にLet's encryptで証明書を取得。このとき筆者の環境では、インターネットから接続できないのでDNSチャレンジ方式で取得しています。いろんな方法がありますが、あくまで一例です。certbotCLIはなければインストールしてください。
certbot --server https://acme-v02.api.letsencrypt.org/directory -d pinniped.DOMAIN --manual \
    --preferred-challenges dns-01 certonly \
    --work-dir /tmp/certbot/wd --config-dir /tmp/certbot/cfg \
    --logs-dir /tmp/certbot/logs
途中いろんな質問に答えていくと、こんな感じでTXTレコードの生成も指示されます。
- - - - - - - - - - - - - - - - - - - - - - - - - - - - - - - - - - - - - - - -
Please deploy a DNS TXT record under the name
_acme-challenge.pinniped.DOMAIN with the following value:

XXxxxxxxxxxxxxxxxxx

Before continuing, verify the record is deployed.
- - - - - - - - - - - - - - - - - - - - - - - - - - - - - - - - - - - - - - - -
指示に従いTXTレコードをDNSサービス側に登録してEnterを押せば証明書が発行されます。
Pinniped Supervisor の構成
以下の手順はSupervisor Clusterで実施
まず、先の手順で作った証明書をSecretとして登録します。
kubectl create secret tls my-federation-domain-tls -n pinniped-supervisor --cert=/tmp/certbot/cfg/live/pinniped.DOMAIN/fullchain.pem --key=/tmp/certbot/cfg/live/pinniped.DOMAIN/privkey.pem
そして、それをFederationDomainに登録していきます。
cat <<EOF | kubectl create --namespace pinniped-supervisor -f -
apiVersion: config.supervisor.pinniped.dev/v1alpha1
kind: FederationDomain
metadata:
  name: my-federation-domain
spec:
  issuer: https://pinniped.DOMAIN
  tls:
    secretName: my-federation-domain-tls
EOF
次にOKTAでApp作成時のclientIDとclientSecretを登録していきます。
kubectl create secret generic my-oidc-identity-provider-client \
  --namespace pinniped-supervisor \
  --type secrets.pinniped.dev/oidc-client \
  --from-literal=clientID=xxxxx \
  --from-literal=clientSecret=yyyyyy
最後にOIDCIdentityProviderを登録します。この時のissuerに入る値はOKTAが生成したdomain idです。
cat <<EOF | kubectl create --namespace pinniped-supervisor -f -
apiVersion: idp.supervisor.pinniped.dev/v1alpha1
kind: OIDCIdentityProvider
metadata:
  name: my-oidc-identity-provider
spec:
  issuer: https://dev-xxxxxx.okta.com/oauth2/default
  claims:
    username: email
  authorizationConfig:
    additionalScopes: ['email']
  client:
    secretName: my-oidc-identity-provider-client
EOF
Pinniped Conciergeの構成
以下の手順はWorkload Clusterで実施
以下でインストールをします。
kubectl apply -f https://get.pinniped.dev/latest/install-pinniped-concierge.yaml
次にAudienceにいれるランダムな値を生成します。
audience="$(openssl rand -hex 8)"
そして、JWTAuthenticatorを構成します。
cat <<EOF | kubectl create --namespace pinniped-concierge -f -
apiVersion: authentication.concierge.pinniped.dev/v1alpha1
kind: JWTAuthenticator
metadata:
  name: my-jwt-authenticator
spec:
  issuer: https://pinniped.DOMAIN
  audience: $audience
EOF
Pinniped CLIとKubeconfigの生成
以下の手順はWorkload Clusterで実施
Pinniped CLIをダウンロードして、インストールします。その後、Pinniped CLI経由でkubeconfigを生成します。
pinniped get kubeconfig --concierge-namespace pinniped-concierge --concierge-authenticator-type jwt --concierge-authenticator-name my-jwt-authenticator > /tmp/pinniped-kubeconfig
設定は以上です。
動作確認
まず実行ユーザーにロールを付与します。<oktaユーザー>はOKTAに登録したユーザー名です。
kubectl create clusterrolebinding okta-can-read --clusterrole view --user <oktaユーザー>
以下のコマンドで実行します。
kubectl --kubeconfig /tmp/pinniped-kubeconfig get pods -n pinniped-concierge
このOKTAのURLに飛ばされたら成功です。
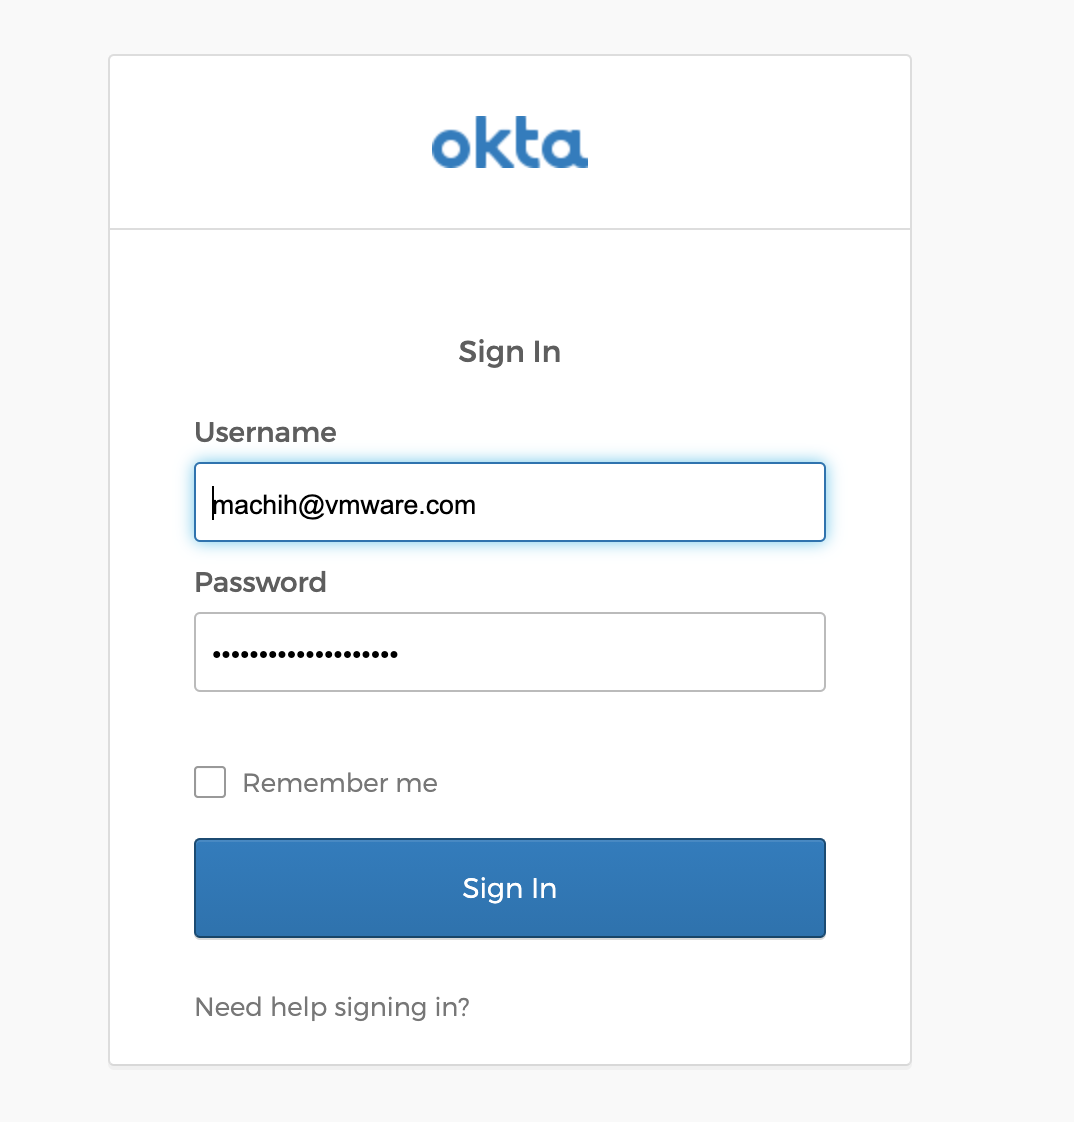
そして、ユーザー認証後、以下のようにpod一覧がでれば成功です。
kubectl --kubeconfig /tmp/pinniped-kubeconfig get pods -n pinniped-concierge
NAME                                          READY   STATUS    RESTARTS   AGE
pinniped-concierge-869566cb49-6zqrw           1/1     Running   0          23h
pinniped-concierge-869566cb49-82776           1/1     Running   0          23h
pinniped-concierge-kube-cert-agent-e9561a48   1/1     Running   0          23h
まとめ
今回はPinnipedのてっとり早くインストール方法を紹介しました。