Installing Tanzu Service Manager the Quick Way
· 12 min read
If you prioritize speed, installing Tanzu Service Manager can be kept simple.
Introduction
Tanzu Service Manager (TSMGR) is set to become the central component for creating services such as the Tanzu Application Service marketplace. However, if you try to install it following the manual, preparing S3 storage, certificates and so on may feel like a high hurdle.
The manual describes a simplified installation called Dev Mode:
https://docs.pivotal.io/tanzu-service-manager/1-0/installing-dev.html
This post introduces an even simpler installation. The idea is that if TAS4K8S is already installed, the prerequisites — Kubernetes and Istio — are already in place, so we can reuse them. This is strictly for lab environments; use a different procedure in production.
Prerequisites
- A TAS4K8S environment is available
- The helm CLI is installed
- uaac is installed
Steps
We assume TSMGR and TAS4K8S live in the same cluster, which greatly reduces the number of steps.
1. Prepare the user
Create the user that TSMGR uses to talk to TAS. First, change into the directory used to install TAS4K8S and run:
bosh interpolate configuration-values/deployment-values.yml --path /uaa/admin_client_secret
If it works, a password appears:
<password>

Succeeded
Next, create the connection user. Change SYSTEMDOMAIN to match your environment.
uaac target uaa.SYSTEMDOMAIN --skip-ssl-validation
Log in as the admin user:
uaac token client get admin -s <the password shown above>
Then create the user. I recommend copy-pasting this as-is:
uaac client add tsmgr -s DevPassword --authorized_grant_types client_credentials,refresh_token --scope cloud_controller.read,cloud_controller.write --authorities cloud_controller.admin
2. Run Helm
First download the TSMGR Helm chart and CLI. Only the "TSMGR Helm Chart" and "CLI" are needed.
https://network.pivotal.io/products/tanzu-service-manager/
Next prepare a YAML like the one below. Update these two items for your environment:
- Your Tanzu Network username/password
- SYSTEMDOMAIN as used by TAS4K8S
Everything else can stay as-is. Save it as values.yaml next to the downloaded Helm chart.
imageCredentialsForTSMGRImages:
  registry: registry.pivotal.io
  username: <Tanzu Network username>
  password: <Tanzu Network password>

broker:
  service:
    type: ClusterIP
  replicaCount: 1
  password: DevPassword

reconciler:
  replicaCount: 1

daemon:
  service:
    type: ClusterIP
  replicaCount: 1

chartmuseum:
  enabled: true
  env:
    open:
      STORAGE_AMAZON_BUCKET: minio-charts
      STORAGE_AMAZON_ENDPOINT: http://tsmgr-minio:9000
      STORAGE_AMAZON_REGION: us-east-1
      BASIC_AUTH_PASS: "chartpass"
    existingSecret: tsmgr-minio
    existingSecretMappings:
      AWS_ACCESS_KEY_ID: access-key
      AWS_SECRET_ACCESS_KEY: secret-key

minio:
  internal: true
  accessKey:
    password: DevPassword
  secretKey:
    password: DevPassword


ingress:
  enabled: true
  hosts:
    - name: SYSTEMDOMAIN
      path: "/*"
  annotations:
    kubernetes.io/ingress.class: istio

cf:
  brokerUrl: http://tsmgr-tsmgr-broker.tsmgr.svc.cluster.local
  brokerName: tsmgr
  apiAddress: https://api.SYSTEMDOMAIN
  client: tsmgr
  clientSecret: DevPassword
  skipSslValidation: true
Create the namespace:
kubectl create ns tsmgr
Then run the Helm chart:
helm install tsmgr tsmgr-1.0.11.tgz -n tsmgr -f values.yaml
After a while, run the following:
export TSMGR_TARGET=http://daemon.SYSTEMDOMAIN
export TSMGR_TOKEN=$(kubectl get secret -n tsmgr $(kubectl get serviceaccount -n tsmgr tsmgr-tsmgr-admin-sa -o jsonpath='{@.secrets[0].name}') -o=jsonpath='{@.data.token}' | base64 --decode)
Run the command below; if it shows both a server and client version, you are good so far.
tsgmgr version
3. Create the service account for TSMGR
This part is a little tedious, but we follow the manual as-is. First, create the Namespace:
kubectl create ns tsmgr-system
Then create the service account with the following command. Copy-pasting directly into the prompt is fine.
kubectl apply -f - <<EOF
---
apiVersion: v1
kind: ServiceAccount
metadata:
  name: tsmgr-admin
  namespace: tsmgr-system
---
apiVersion: rbac.authorization.k8s.io/v1beta1
kind: ClusterRoleBinding
metadata:
  name: tsmgr-cluster-admin
roleRef:
  apiGroup: rbac.authorization.k8s.io
  kind: ClusterRole
  name: cluster-admin
subjects:
  - kind: ServiceAccount
    name: tsmgr-admin
    namespace: tsmgr-system
EOF
Then run this series of commands. Again, copy-pasting directly is fine.
cluster=$(kubectl config view -o jsonpath="{.contexts[?(@.name == \"$(kubectl config current-context)\")].context.cluster}")
server=$(kubectl config view -o jsonpath="{.clusters[?(@.name == \"$cluster\")].cluster.server}")
certificate=$(kubectl config view --raw --flatten -o jsonpath="{.clusters[?(@.name == \"$cluster\")].cluster.certificate-authority-data}")
secret_name=$(kubectl get serviceaccount tsmgr-admin --namespace=tsmgr-system -o jsonpath='{.secrets[0].name}')
secret_val=$(kubectl --namespace=tsmgr-system get secret $secret_name  -o jsonpath='{.data.token}')
secret_val=$(echo ${secret_val} | base64 --decode)
cat > cluster-creds.yaml << EOF
token: ${secret_val}
server: ${server}
caData: ${certificate}
EOF
If the contents of cluster-creds.yaml were generated properly, you are done here.
4. Register the cluster with TSMGR
All that remains is registering the cluster. Run the following commands:
% tsmgr cluster register  tas cluster-creds.yaml
Cluster [tas] saved
% tsmgr cluster set-default tas
Cluster [tas] set as default
TSMGR registration is now complete.
Bonus: register the MySQL Helm chart
Following this English blog, let's register the MySQL Helm chart.
git clone https://github.com/bitnami/charts.git
cd ./charts/bitnami/mysql
Create a file like the following, named bind.yaml:
template: |
  {
    hostname: $.services[0].name + "." + $.services[0].metadata.namespace + ".svc.cluster.local",
    name: $.services[0].name,
    jdbcUrl: "jdbc:mysql://" + self.hostname + "/my_db?user=" + self.username + "&password=" + self.password + "&useSSL=false",
    uri: "mysql://" + self.username + ":" + self.password + "@" + self.hostname + ":" + self.port + "/my_db?reconnect=true",
    password: $.secrets[0].data['mysql-root-password'],
    port: 3306,
    username: "root"
  }
Package it with helm:
helm package .
And register it with TSMGR:
cd ../
tsmgr offer save ./mysql ./mysql/mysql-6.14.11.tgz
At this point, confirm it is registered with cf:
% cf service-brokers
Getting service brokers as admin...

name    url
tsmgr   http://tsmgr-tsmgr-broker.tsmgr.svc.cluster.local
Allow access:
cf enable-service-access mysql
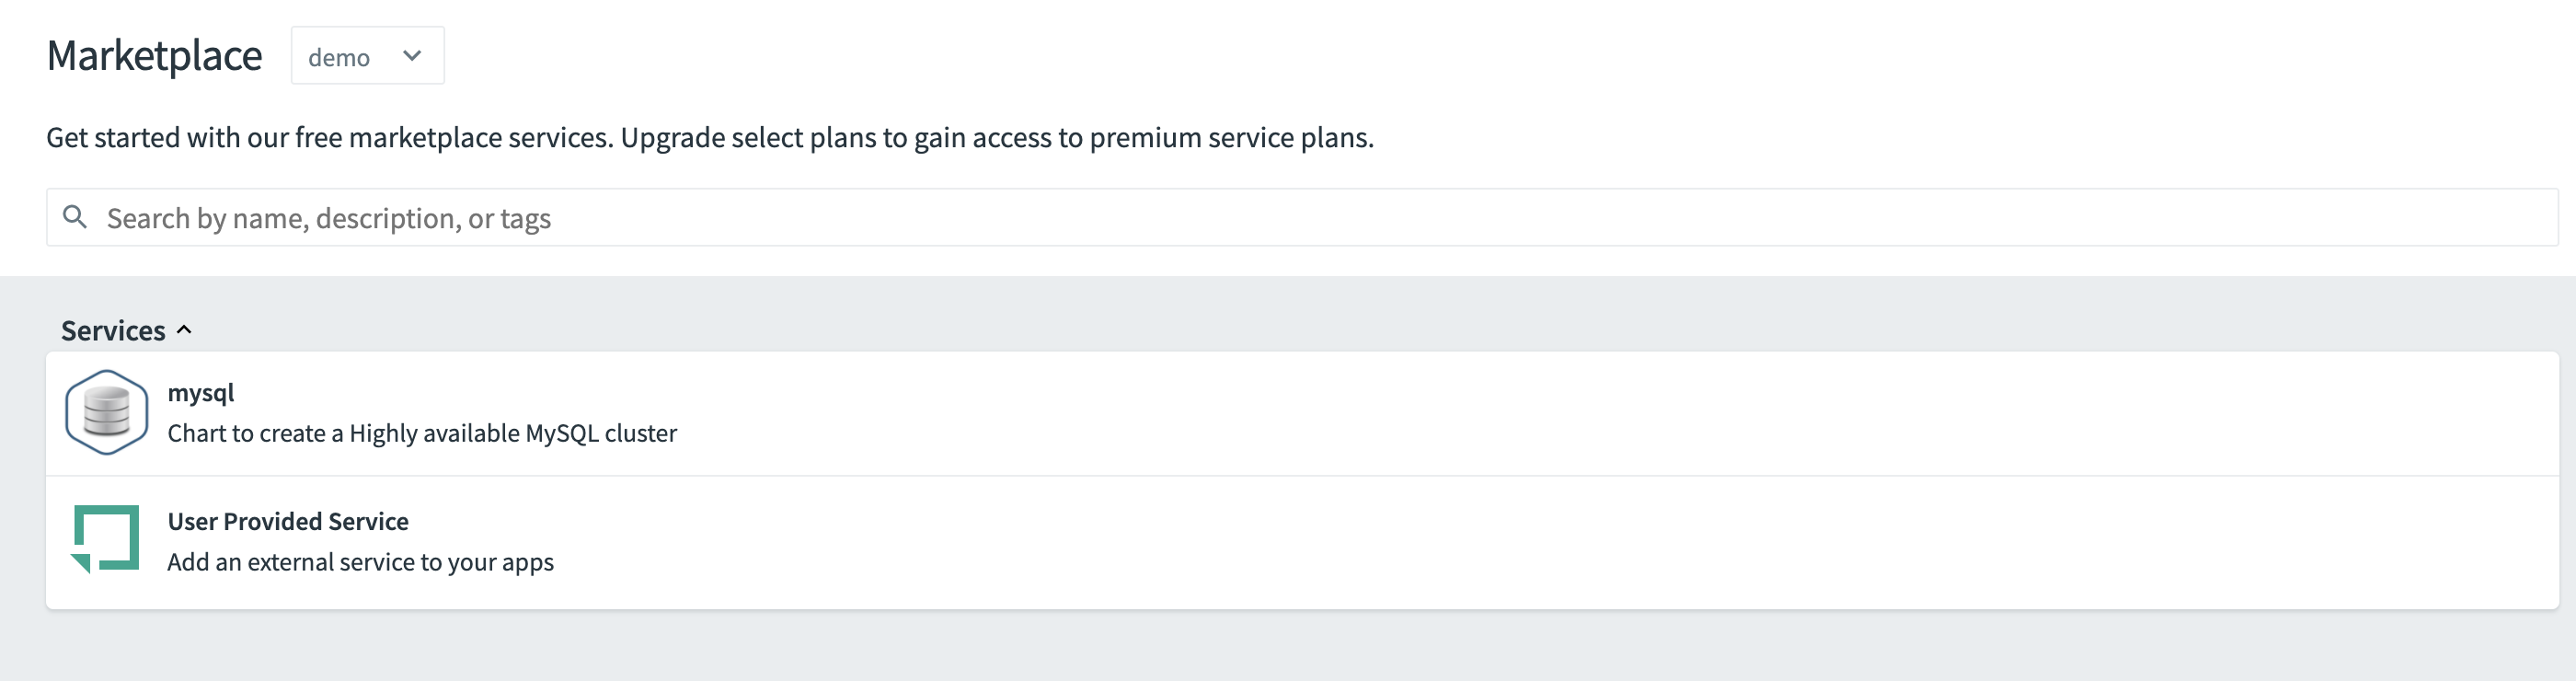
It then appears in the marketplace in Apps Manager as well:
You can deploy it with a command like:
cf create-service mysql default test-mysql
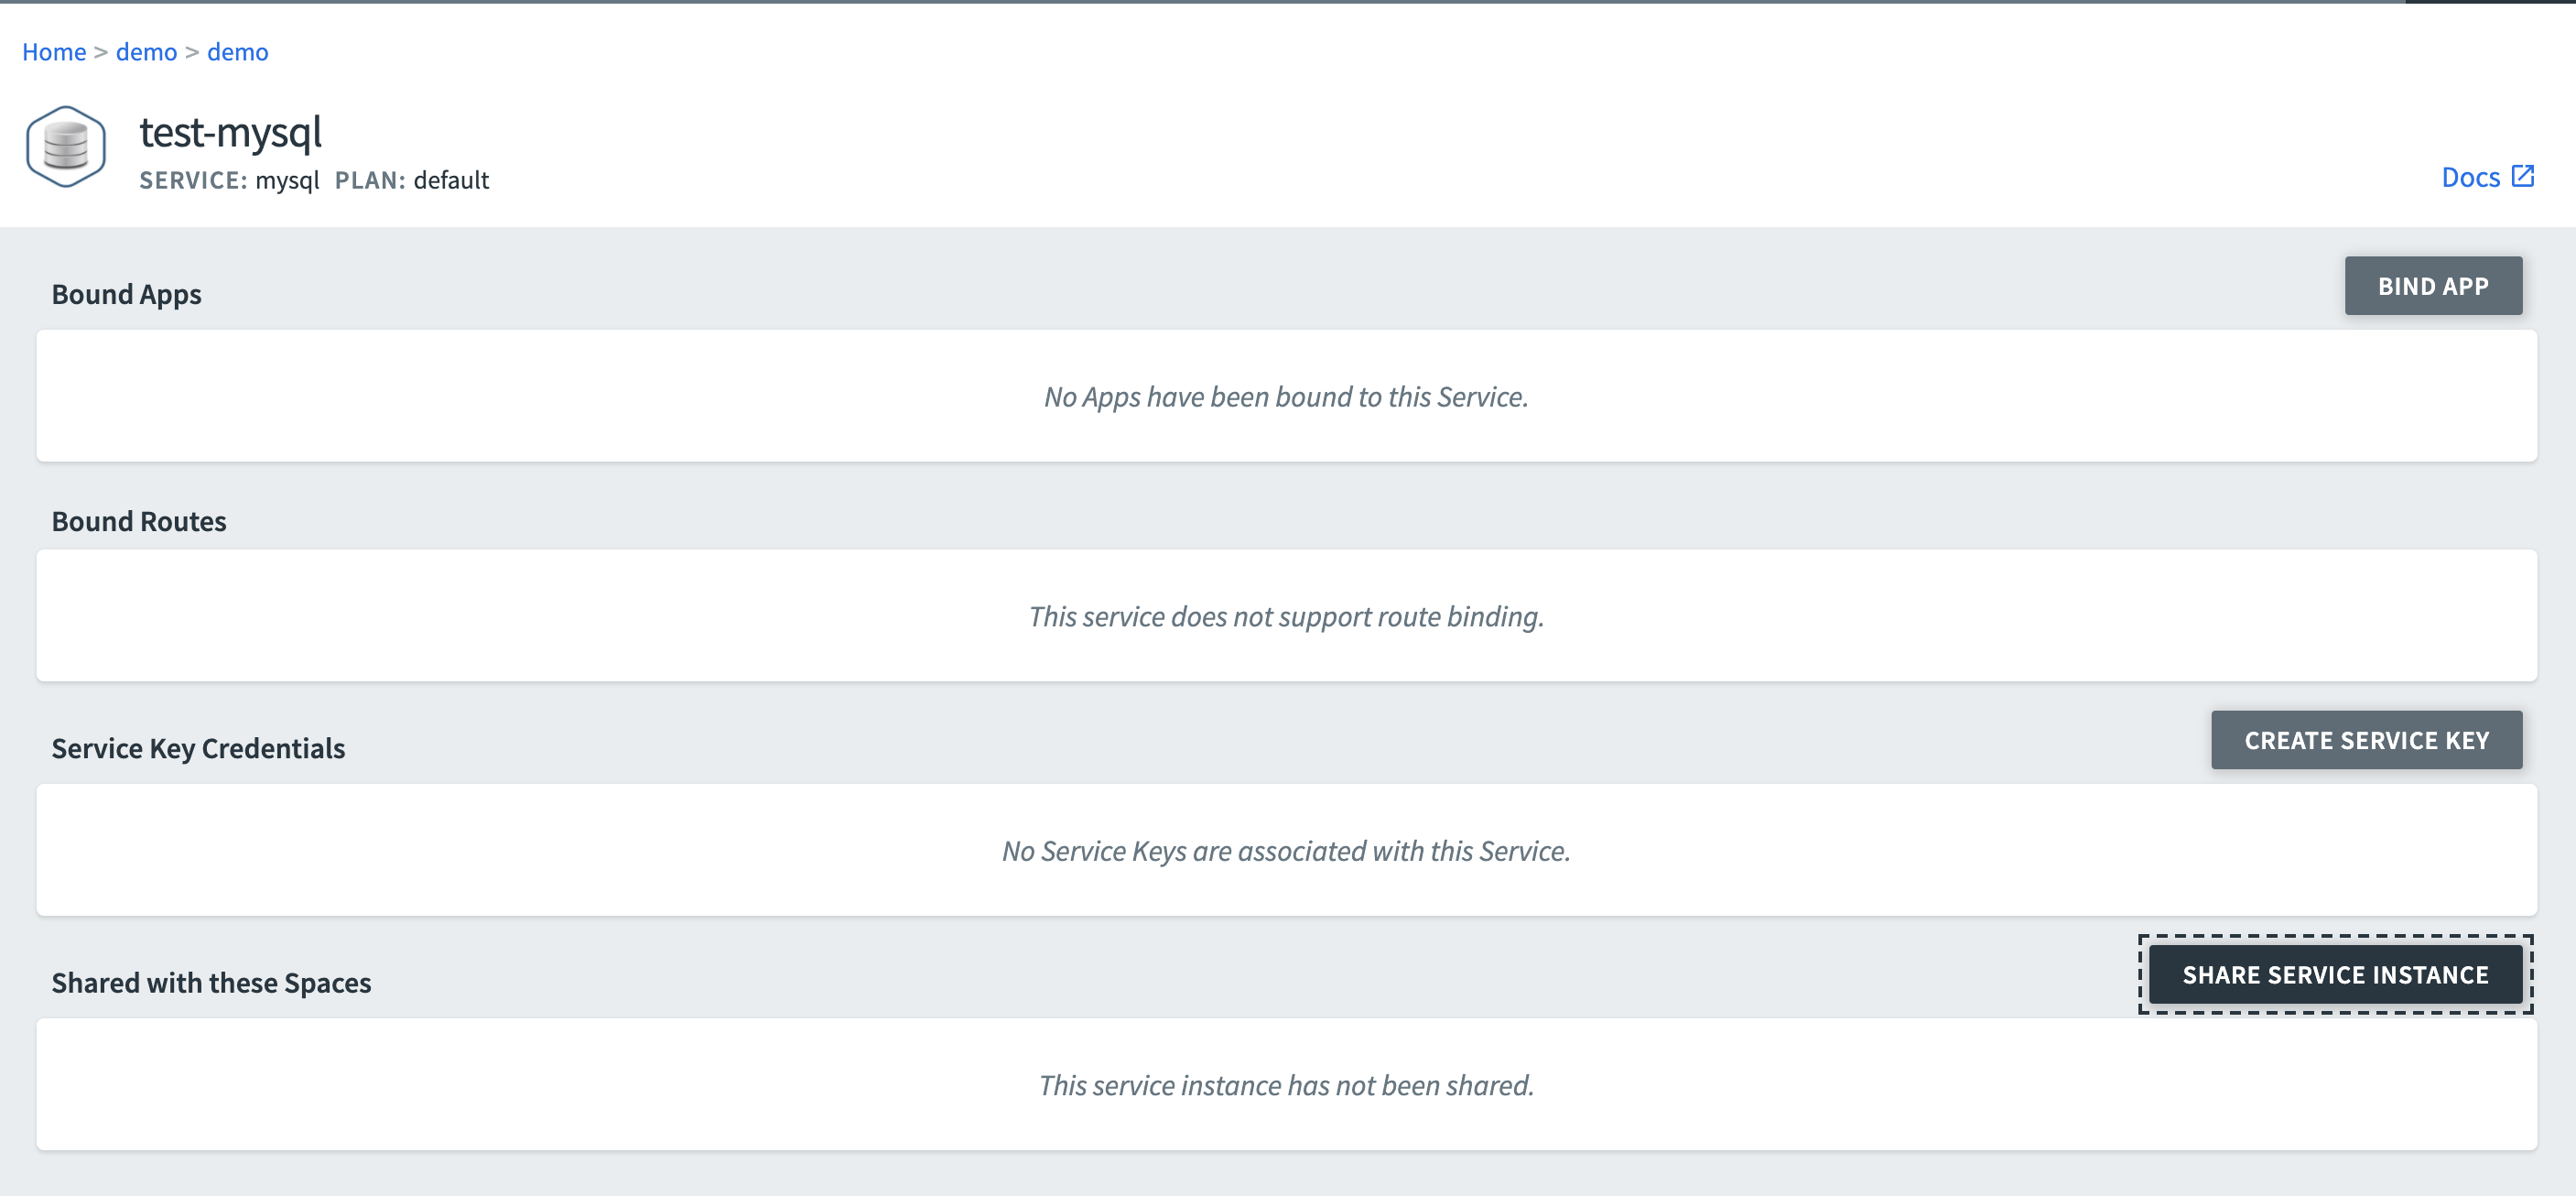
Which creates the service:
mhoshino@mhoshino bitnami % cf services
Getting services in org demo / space demo as admin...

name         service   plan      bound apps   last operation     broker   upgrade available
test-mysql   mysql     default                create succeeded   tsmgr    yes
You can confirm it in the GUI too.
Summary
With a TAS4K8S environment, TSMGR is easy to try out as well.