Trying Tanzu Platform Self Managed — For Admins: Enabling HTTPS
· 6 min read
Let's try the on-prem edition of the latest product, Tanzu Platform.
This post shows how to enable HTTPS for application traffic.
Series
- Installation
- For admins: Project setup
- For users: Deploying to a Space
- For admins: Slimming down the deploy target
- Here> For admins: Enabling HTTPS
- For admins: Automatic DNS registration
Bonus: The "Things You Don't Need to Know about Tanzu Platform" series
Making application traffic HTTPS
Application HTTP traffic is governed by the [Certificate Provider] setting in TP's [Networking] > [Domains]. Up to the previous posts we had selected [use HTTP/TCP (unecrypted traffic)], so no traffic was encrypted.
To encrypt traffic, you need to create a certificate and register it with a Certificate Provider.
Here are the steps.
HTTPS with a self-signed CA certificate
Let's create a self-signed certificate first. Start by specifying your own domain in an environment variable:
export APP_DOMAIN=<your app domain fqdn>
Then create the certificate with these commands:
DIR=TMP
mkdir -p $DIR

openssl req -new -nodes -out ${DIR}/ca.csr -keyout ${DIR}/ca.key -subj "/CN=${APP_DOMAIN}/O=tanzu/C=JP"
chmod og-rwx ${DIR}/ca.key

cat <<EOF > ${DIR}/ext_ca.txt
basicConstraints=CA:TRUE
keyUsage=digitalSignature,dataEncipherment,keyEncipherment,keyAgreement
extendedKeyUsage=serverAuth,clientAuth
subjectAltName = @alt_names
[alt_names]
DNS.1 = ${APP_DOMAIN}
DNS.2 = *.${APP_DOMAIN}
EOF

openssl x509 -req -in ${DIR}/ca.csr -days 3650 -signkey ${DIR}/ca.key -out ${DIR}/ca.crt -extfile ${DIR}/ext_ca.txt
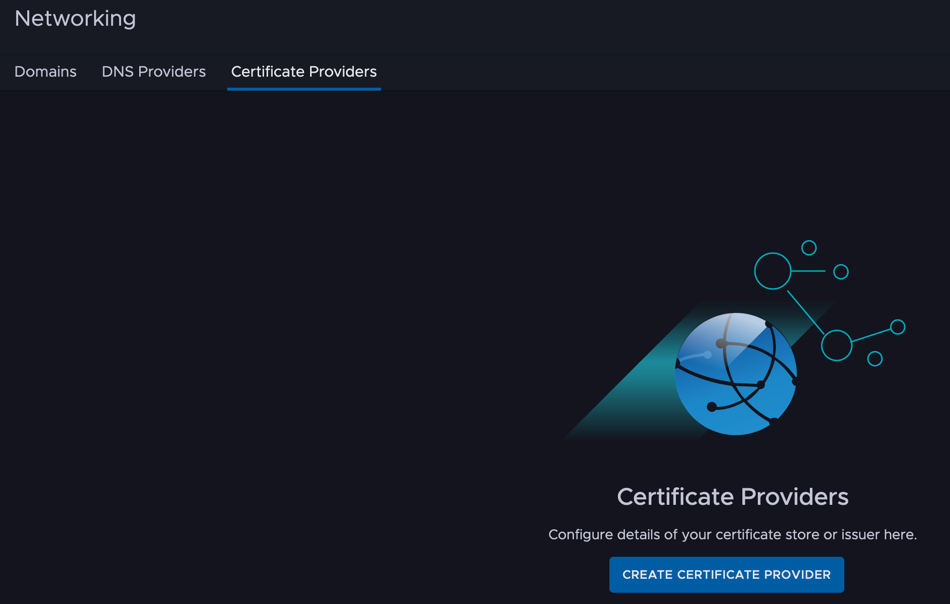
Register this with a Certificate Provider. From [Networking] > [Certificate Providers], select [Create Certificate Provider].
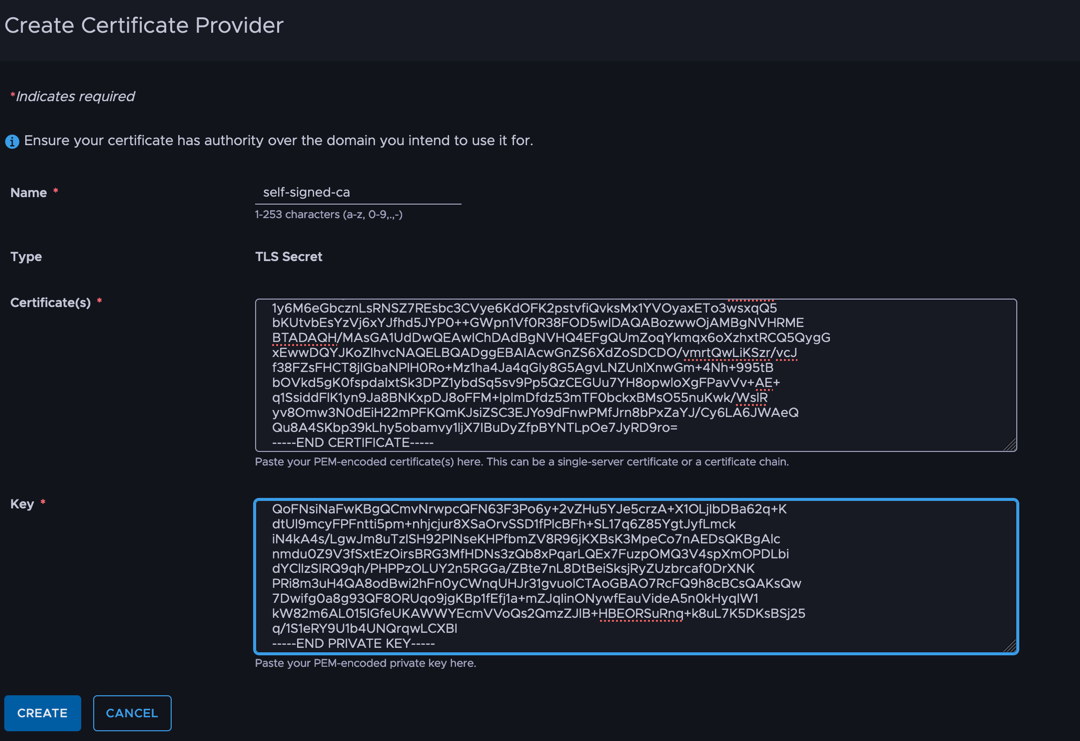
Register the contents of the ca.crt generated above under Certificates, and ca.key under Key.
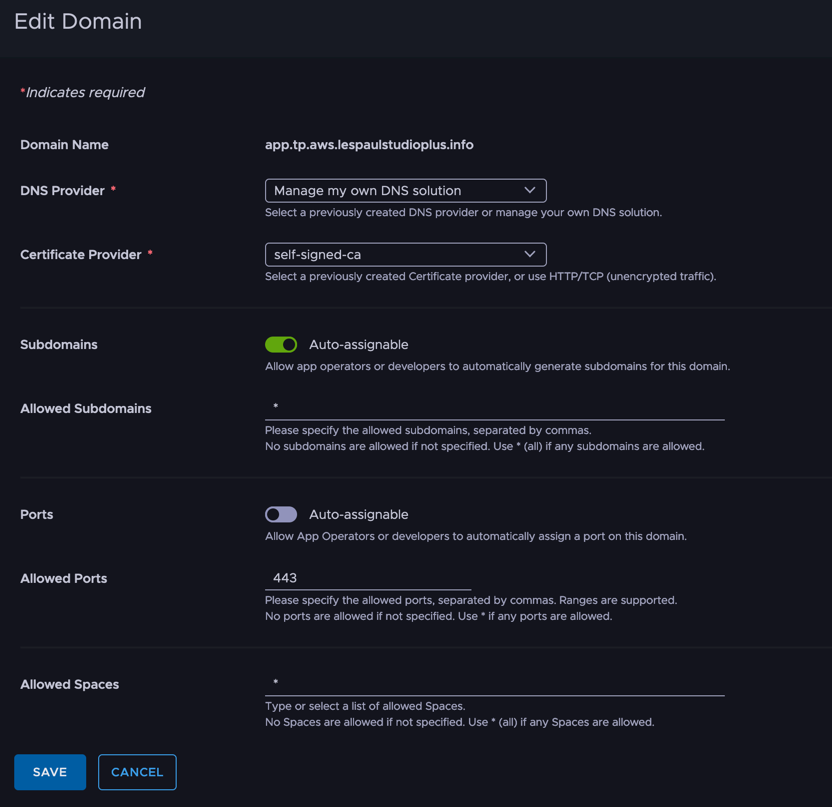
Go back to [Networking] > [Domains] and set the Certificate Provider to the newly created one.
That's it. Now deploy the app again as introduced in the previous article.
After registering the domain, curl with the command below and HTTPS communication works.
Two caveats: -k is added because the certificate is self-signed. And Istio's HTTPS routes by SNI header rather than Host header, so without a temporary DNS entry via --resolve, communication fails.
curl -k --resolve <app domain>:443:<app IP> https://<app domain>
Here's the result:

HTTPS with a Let's Encrypt certificate
Basically the same procedure, but let's also do it with a Let's Encrypt certificate.
Create the Let's Encrypt certificate with the command below. Caveat: the endpoint IP address isn't stable, so a DNS challenge is unavoidable.
In that case you must own the DNS for
export APP_DOMAIN=<your app domain fqdn>
Then:
sudo certbot certonly --manual --preferred-challenges dns -d "*.${APP_DOMAIN}"
Register the TXT record shown along the way in your DNS, and obtain fullchain.pem and privkey.pem.
The flow after that is the same:
- Register fullchain.pem as the Certificate Provider's Certificate
- Register privkey.pem as the Certificate Provider's Key
Once everything is done, you can connect with the curl below. Since it's Let's Encrypt, "-k" is no longer needed.
curl --resolve <app domain>:443:<app IP> https://<app domain>
Here's the result:

HTTPS is now enabled.