Trying Tanzu Platform Self Managed — For Admins: Project Setup
· 9 min read
Let's try the on-prem edition of the latest product, Tanzu Platform.
This post covers the first setup after installing TP: setting up the required Project. The steps here are mainly what a TP administrator is expected to do.
Series
-
Here> For admins: Project setup
-
Bonus: The "Things You Don't Need to Know about Tanzu Platform" series
Preparation
First, the default tanzu_platform_admin password can be obtained with:
kubectl get secret tp-pass -n tanzusm -o jsonpath={.data.pass} | base64 -d
Keep the self-signed certificate created by the installer at hand, as it's used in other steps:
kubectl get secret -n tanzusm tp-cert -o jsonpath="{.data.tls\.crt}" | base64 -d > tp.crt
Finally, get the endpoint created by the installer. Map the IP address of the endpoint shown here — or the FQDN configured in the installer — via /etc/hosts or DNS.
kubectl get svc -n tanzusm contour-envoy -o jsonpath="{.status.loadBalancer.ingress[0].ip}"
Creating a Project
Once the TP installation is done, the first thing to do is log in and create the first project.
Access the URL. The first user who can log in is tanzu_platform_admin. Use the password from the preparation step.
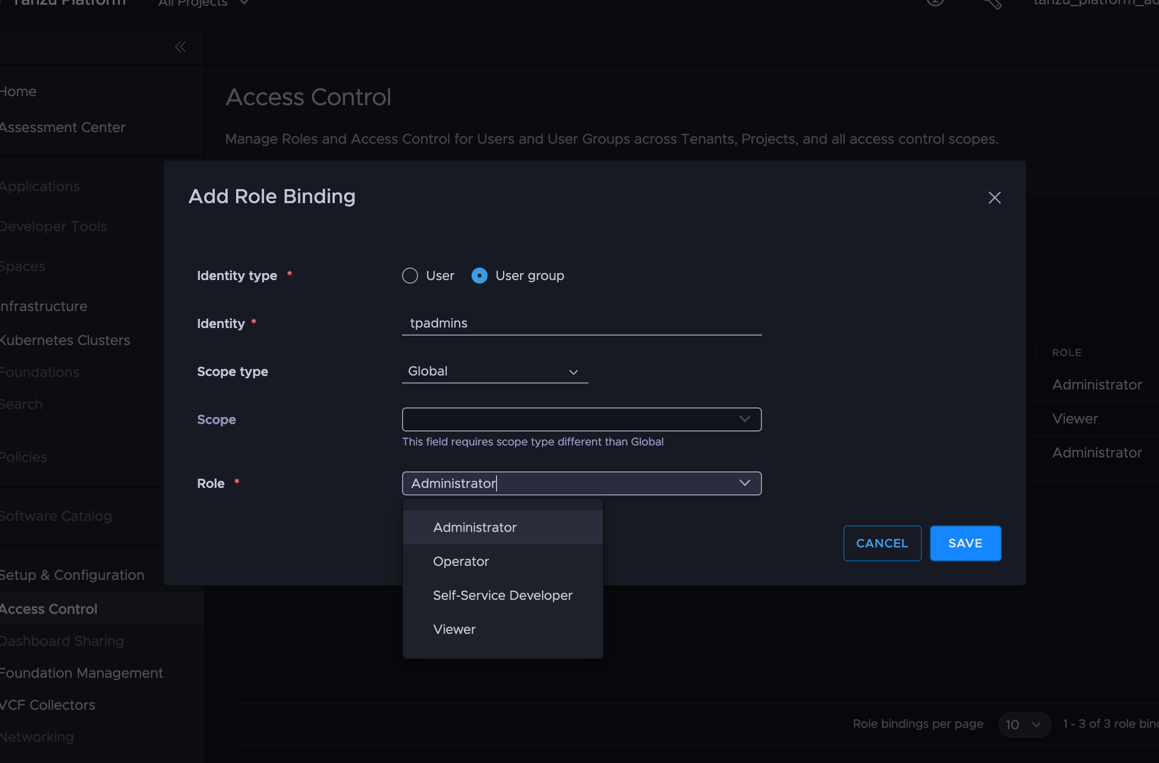
After logging in, from the left pane select [Setup & Configuration] > [Access Control].
Select [Add Role Binding]. Set the user group to tpadmins (don't forget the lowercase "s"). If you're using the customized installer, this also matches the group name in OpenLDAP, so don't get it wrong.
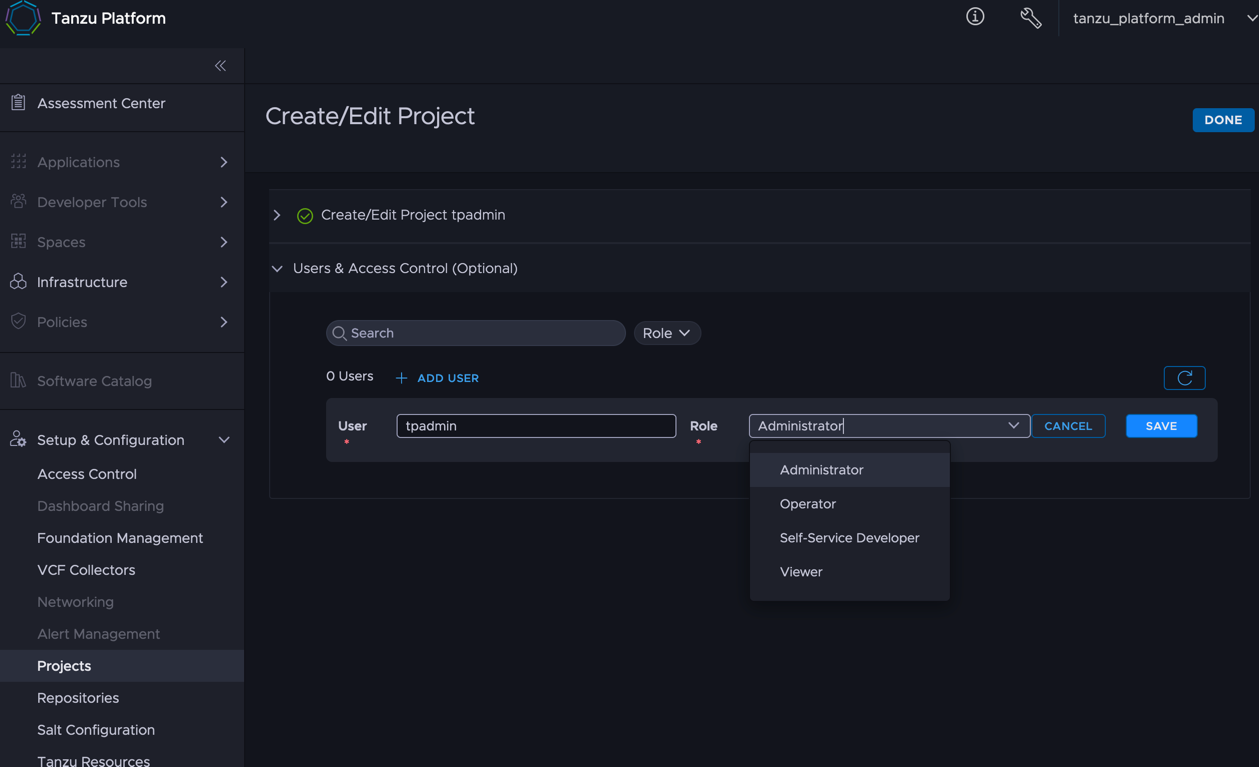
Next, from the left pane select [Setup & Configuration] > [Projects], then [New Project].
The project name has no tie to OpenLDAP, so any name works. Here I use tpadmin.
For the user to add, make it tpadmin. This one IS tied to OpenLDAP, so keep it consistent.
Once here, log out. Then log back in as user tpadmin with password tpsm1!.
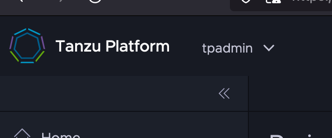
Confirm the user has switched.

Also confirm the project selector at the top-left now says tpadmin.
Registering a Workload cluster
With the project created, next register the target K8s cluster for deployment. Trying it out, the following was needed:
- At least 1 controller; confirmed working at 4vCPU/4GB
- At least 1 compute machine of 8vCPU/16GB/200GB
If the cluster was deployed from TMC, unmanage it from TMC before these steps.
From the left pane [Infrastructure] > [Kubernetes Clusters], follow the steps to add it. Use the URL shown at the end to register Kubernetes with TP.
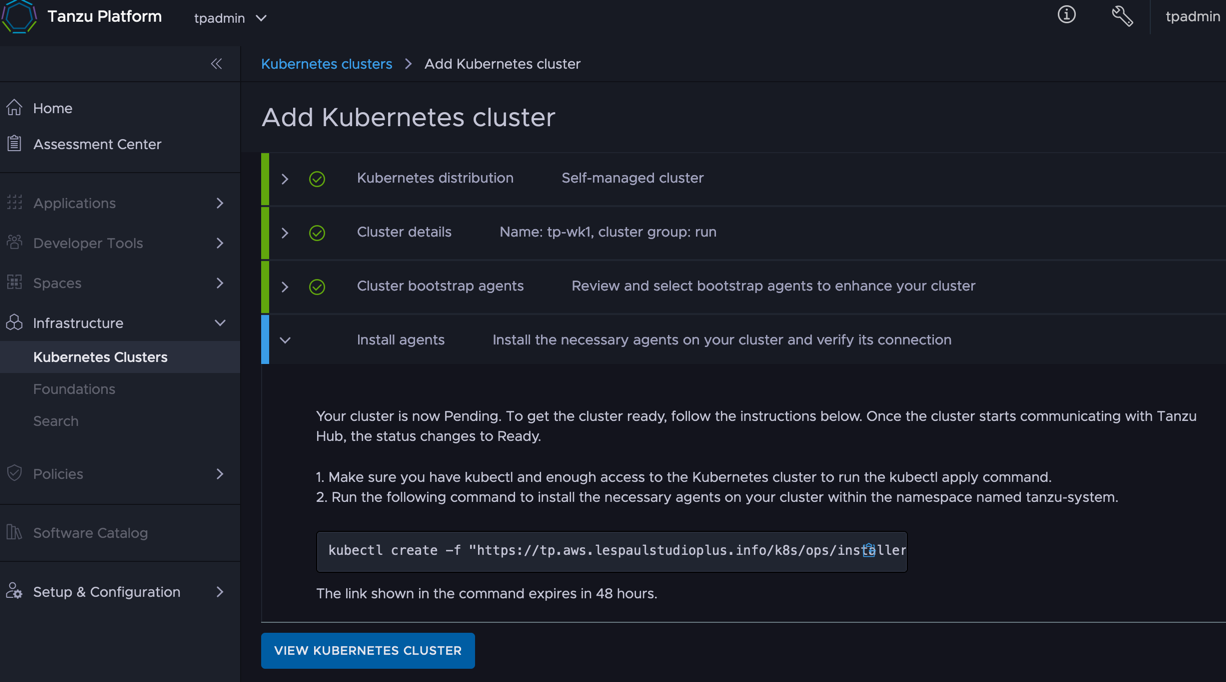
If you followed my installer, this kubectl command fails with a certificate error. As a workaround, use these steps instead:
wget <the http part of the shown command> --no-check-certificate
kubectl create -f installer<press tab here for completion>
Wait a while until it becomes Healthy.
Configuring the Domain
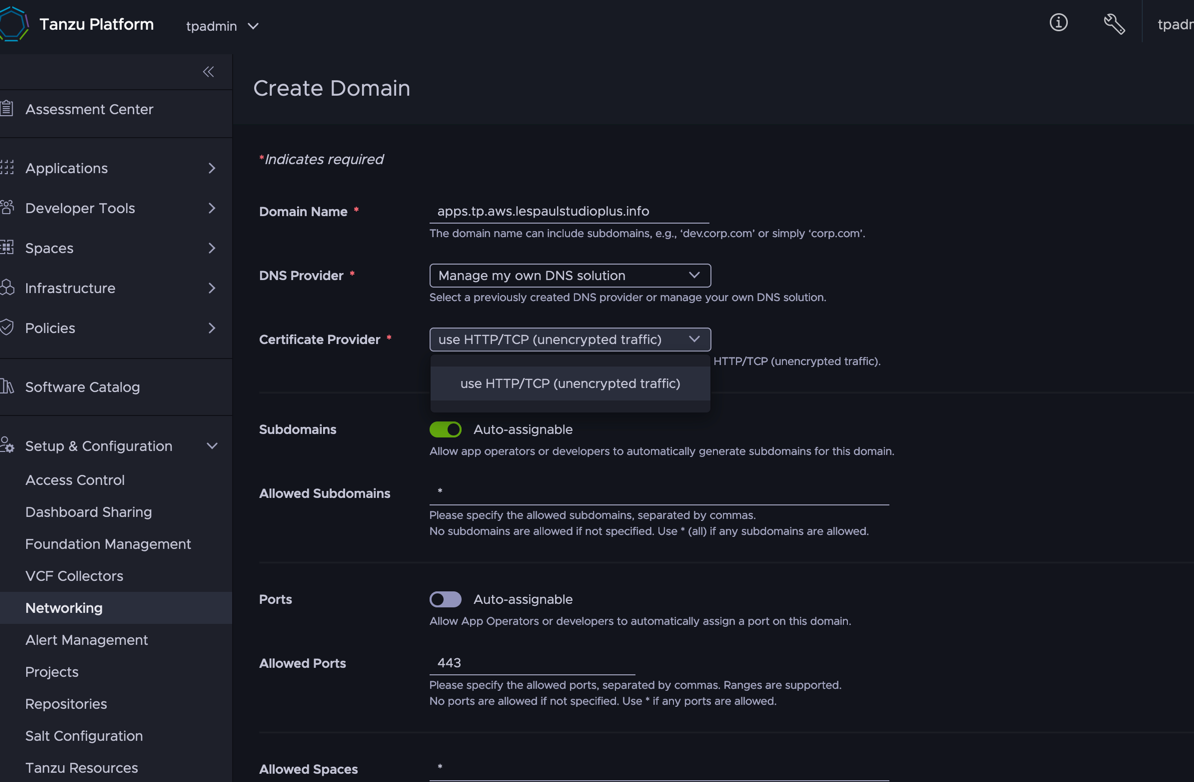
Configure the Domain that created applications will connect to. In [Setup & Configuration] > [Networking] > [Domain] tab, select [Create Domain].
There are many detailed settings, but for now the following gets things running:
- Doamin Name : the domain you want apps to use
- DNS Provider : Manage my own DNS solution
- Certificate Provider : use HTTP/TCP (unecrypted traffic)
Configuring platform builds
One more bit of preparation before deploying: platform builds. This is required for every Project you create. The official procedure creates a separate dedicated build k8s cluster:
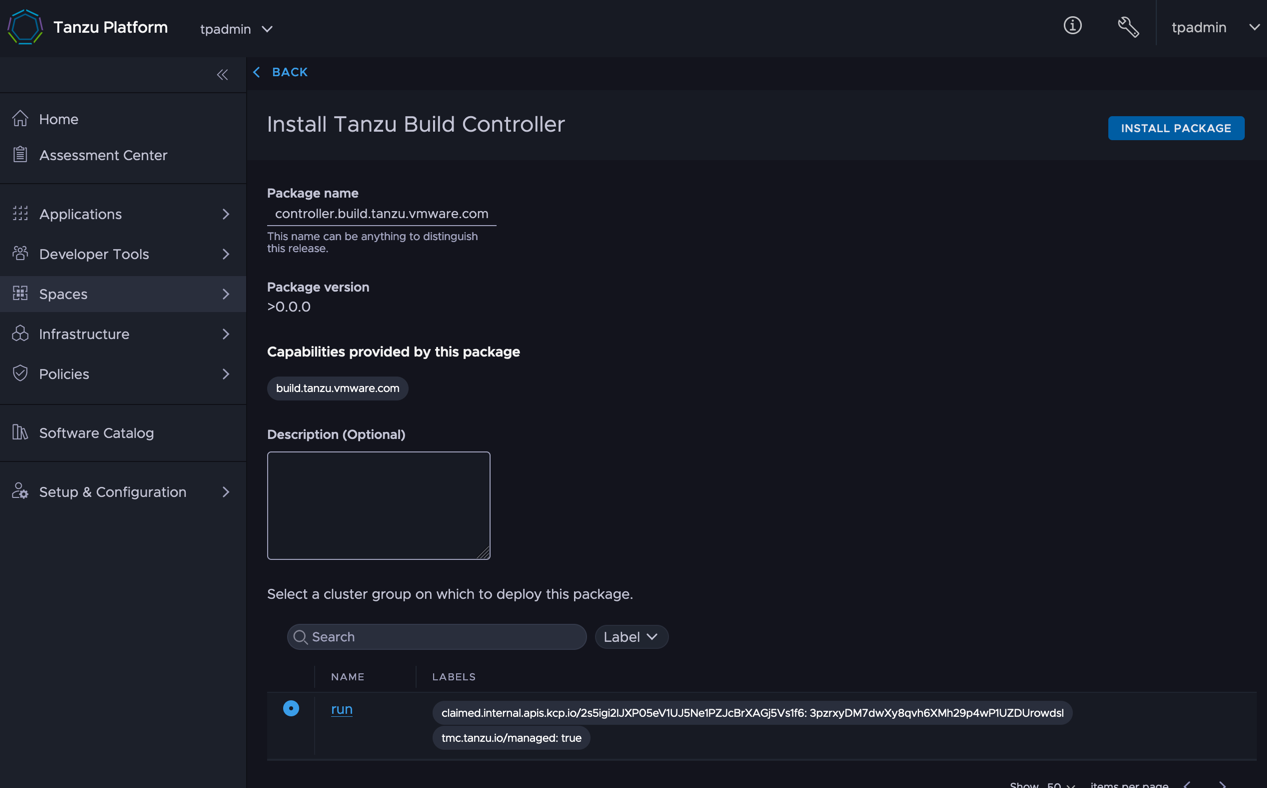
That said, it's a waste of resources, so this time we'll take the quick path and let the deploy cluster double as the build cluster. Select [Spaces] > [Capabilities], choose [ Tanzu Build Controller ], then [Install Package]. Install it onto the run cluster with mostly default settings.
From here it's CLI work.
Log in with the command below. If it complains about a missing login plugin, search for how to install the tanzu cli and do so. The tp.crt is the certificate that should exist if you followed the preparation.
tanzu login --endpoint https://$TP_HOST --endpoint-ca-certificate tp.crt
Set the project as active:
tanzu project use tpadmin
Register TP's self-signed certificate:
kubectl create secret generic tp-crt --from-file=platform-cert.pem=$PWD/tp.crt --dry-run=client -o yaml > tp-crt.yaml
tanzu deploy --only tp-crt.yaml
Configure platform builds for the project with the command below. <TP Repo> is the repository storing the TP installation images.
You can use a different repository, but then imageRepositorySecretRefs must also be updated with the repository credentials. (The manual describes the steps.)
cat <<EOF > buildconfig.yaml
apiVersion: build.tanzu.vmware.com/v1
kind: BuildConfiguration
metadata:
  name: dev-project-bld-cfg
  namespace: default
spec:
  availabilityTarget: all-regions.tanzu.vmware.com
  caCertificateSecretRefs:
  - name: tp-crt
  imageRepositorySecretRefs:
    - name: artifactory-secret-tap-saas
  imageRepositoryTemplate: <TP Repo>/tpk8s/build
EOF
tanzu deploy --only buildconfig.yaml
That's it for the preparation.